Multiple Exposure Blending Modes - The Differences
Disclosure: This post may contain affiliate links. I earn a small commission of product sales to keep this website going.
What are In-Camera Multiple Exposures?
In-camera multiple exposures is a fun, challenging technique that goes back to the 19th century. Modern film photographers either shoot through an entire roll of film twice or expose one frame and then expose it again without advancing the roll.
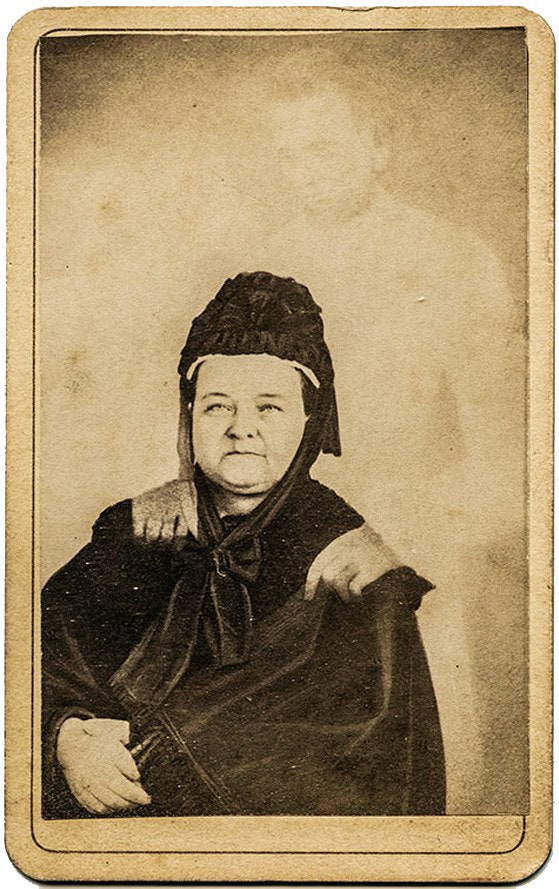
William Mumler, a 19th-century "spirit photographer," was well-known for photographing people and their spirit companions - including Mary Todd Lincoln and the late President. All double exposures.
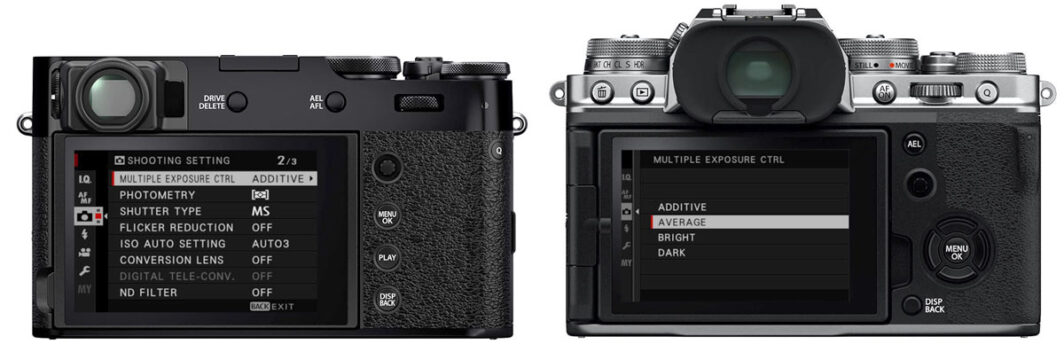
Many modern digital cameras also offer a Multiple Exposure mode, but some options may be confusing. Particularly the blending modes. What are the differences between Additive, Average, Dark, and Bright (or Light)?
Multiple Exposure Blending Modes
Creating a multiple exposure is slightly more complicated than just "stacking" two or more digital images. The processor needs to know what to do with those pixels from the different images. Does it add the RGB values from each image into the final? Average the RGB values? This is where you tell it what to do by picking a blending mode.
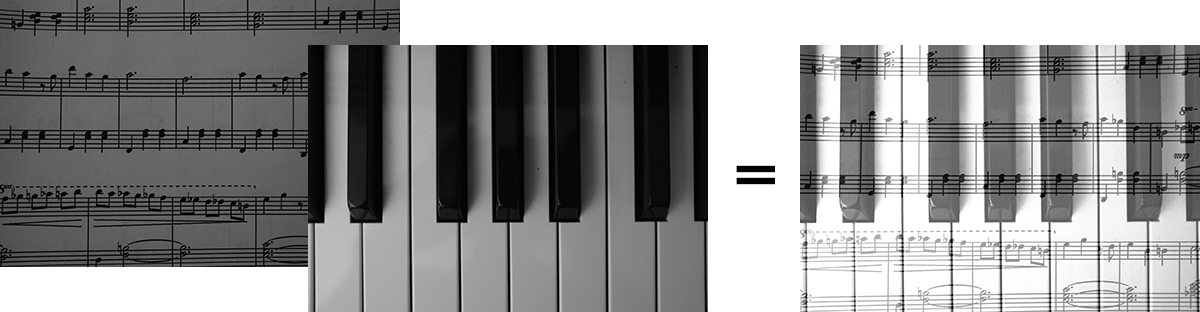
In the basic examples below, when I say "first photo and second photo," it's important to realize this is happening at the pixel level in your camera. I just want to show an entire frame of one tone first for simplicity.
Additive
This is similar to the "analog" method of creating multiple exposures. Each exposure is "added" to the others.
If one photograph is gray and the other is black, the resulting photo will still be gray since black doesn't add anything - it's essentially a "non-exposure." But if both photos were gray, the resulting photo would be a brighter gray since you're adding the "brightness" of those two grays together.


Since all exposures will be added to one another, you may want to underexpose each photo slightly. You certainly don't need to - but if all photos are exposed "properly," everything may appear really bright in the final photo.
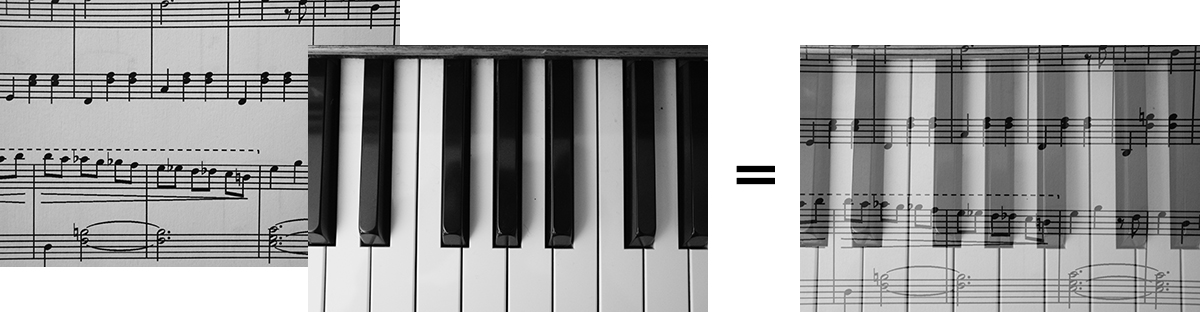
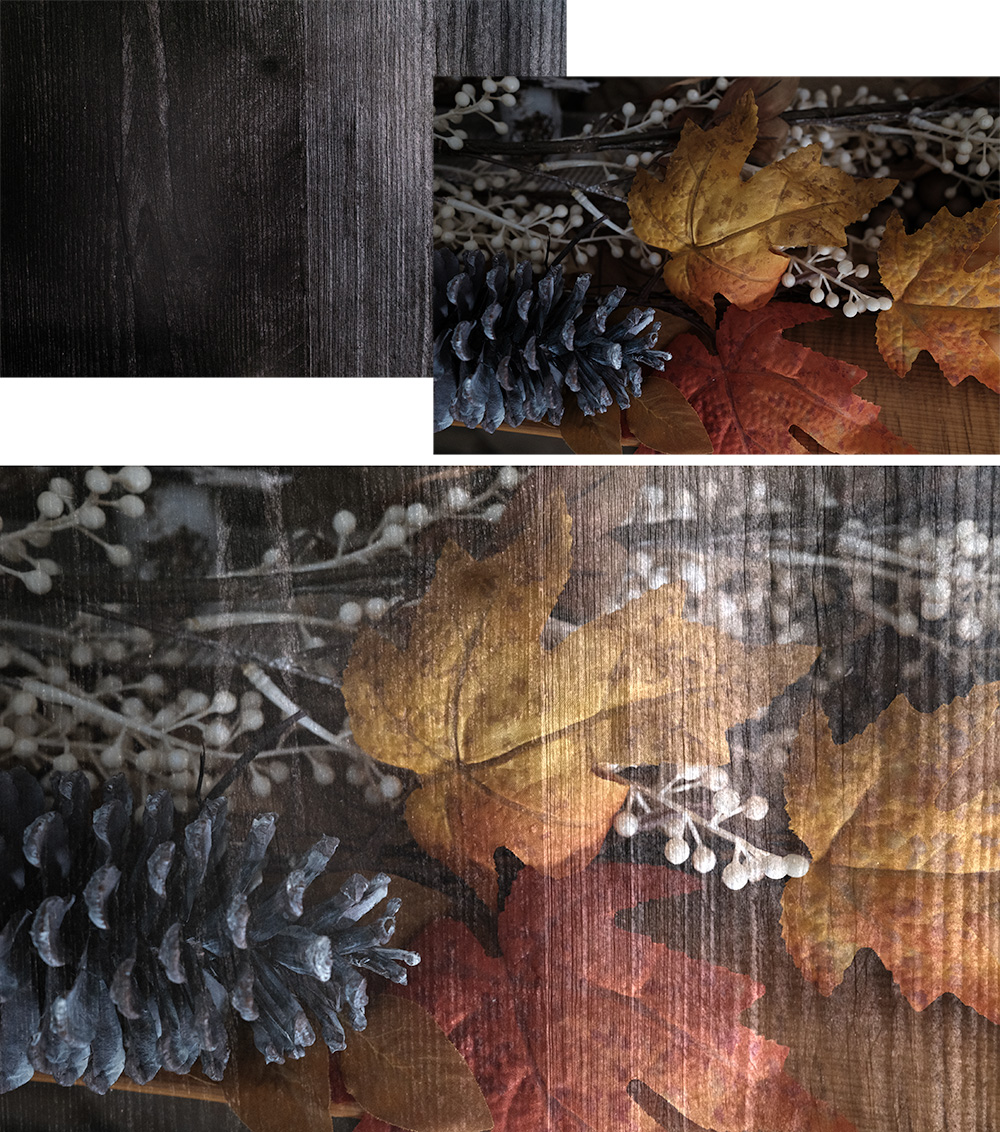
Average
Just as it sounds, this will average the RGB values of each pixel in all images to come up with the RGB values of the final multiple exposure.
If one photograph is gray and the other is black, the resulting photo would be between gray and black - an average. If both photos were the same gray, the final would be the same gray.


With this blending mode, you can expose your photos normally. However, you can always intentionally over or under-expose a frame to get interesting results.
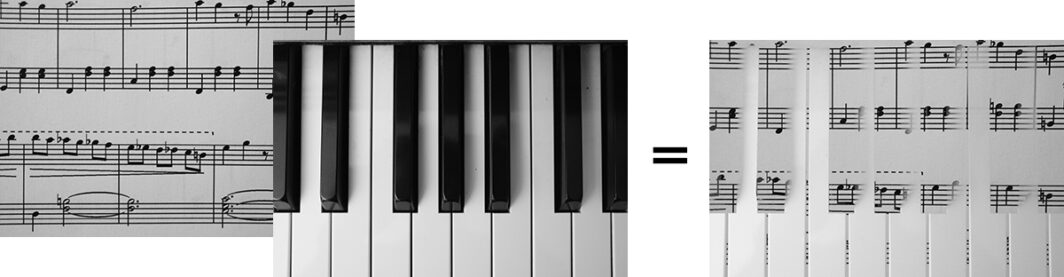
Bright/Light
Called different things in different cameras, this blending mode uses the brightest RGB values from the multiple exposures for the final RGB value of each pixel.
If one photograph is gray and the other is black, the resulting photo would be the gray since that's brighter. But if that gray were followed by white, the final photo would be the white.


This method is a bit more difficult to predict when creating multiple exposures. You can get really creative with it, however. Simple scenes make it slightly easier to predict the final photo's appearance.
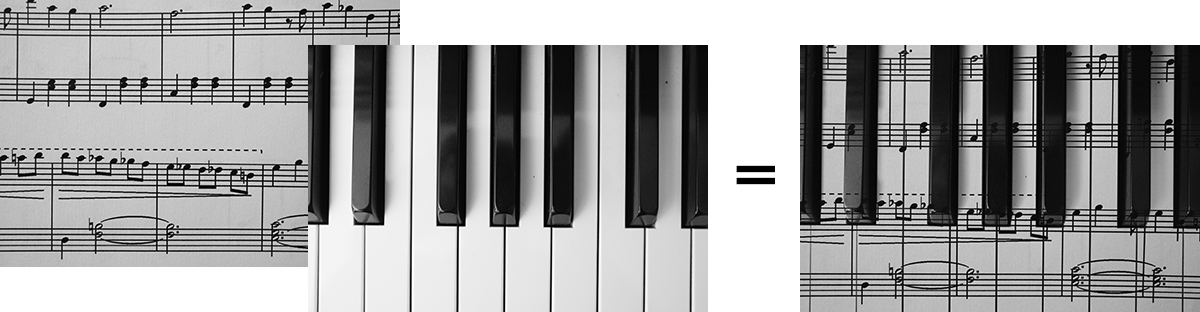
Dark
The Dark multiple exposure blending mode is the opposite of Bright/Light. The processor will pick the darkest RGB value of each pixel across all images for the final RGB value of each pixel.
Going back to our example, if one photograph is gray and the other is black, the final photo will be black. But if that gray is followed by white, the final photo will be gray.


Like the Bright/Light mode, this one can be difficult to predict also.
Multiple Exposure Photography Tips
Some cameras are very simple because they only allow blending of two photos. Other cameras let you get crazy by allowing you to blend up to nine photos (like Fujifilm). But just because your camera lets you use up to nine photos doesn't mean you should. Start simple - create a multiple exposure with two photos. This helps you learn the process and prevents your final photo from becoming so "busy" that it just looks like mush.
Here are some additional tips for getting started with multiple exposures:
- Start with black & white. This, too, can simplify your final photos.
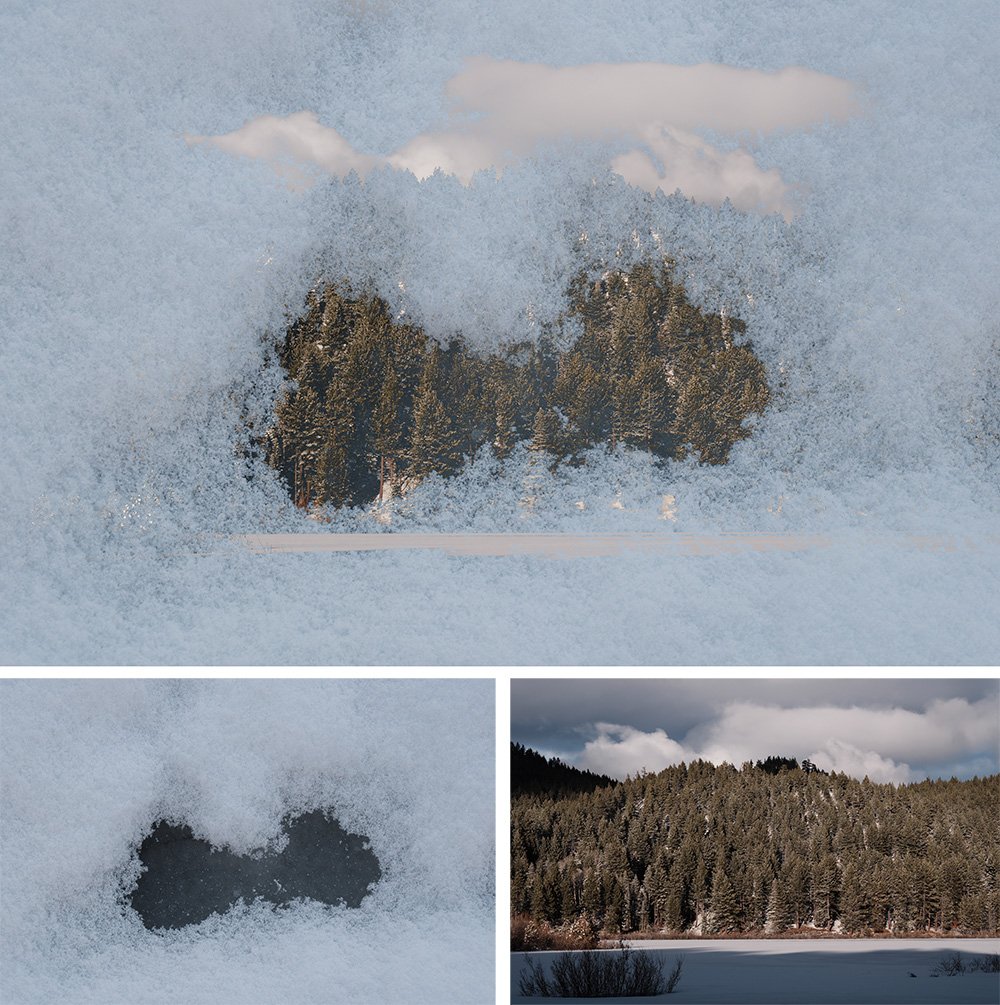
- Avoid using overly-complicated scenes for all photos in the exposure. Blend a complex scene with a simple one.
- Silhouettes are a fun subject matter to use with multiple exposures. Blend a silhouette with a pattern of something, for example.
Reference your camera manual to set your blending mode, enter Multiple Exposure mode, and create the photos. Multiple Exposures are covered in the Advanced Fujifilm Drive Modes course.
And most importantly - have fun!