Disclosure: This post may contain affiliate links. I earn a small commission of product sales to keep this website going.
This question comes from one of our readers, Kerry: What are the differences in the metering/photometry modes and when would you use each one? I cover this extensively in my online photography courses but I can’t believe I haven’t answered that in an article here yet! So here we go.
What is Metering in Photography?
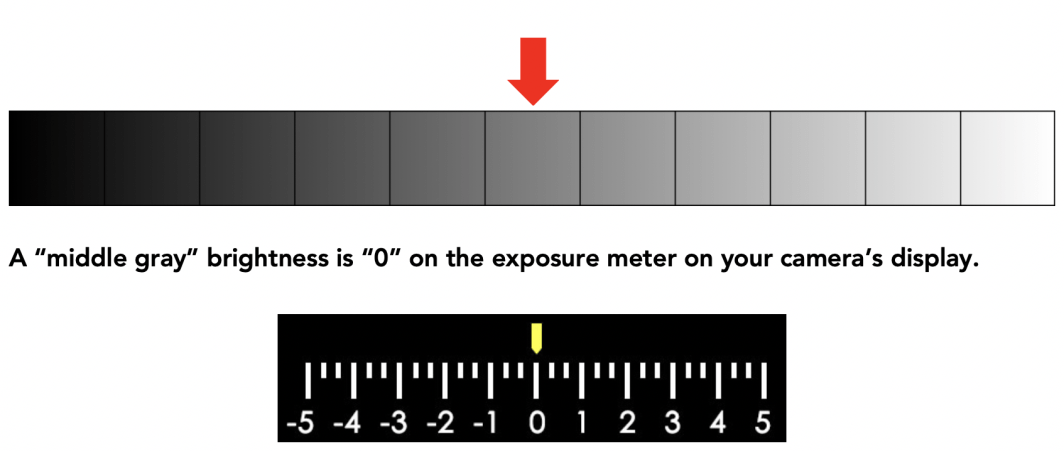
Metering, also called photometry in some cameras, is exactly that: a measurement of light. How much (or how little) light is reaching your digital sensor? (This will be written for digital photographers but most also applies to film photographers).
The camera will use this measurement to
- Adjust exposure variables to match your exposure compensation (P, S, and A modes)
- Tell you how dark or bright the photo will be so you can adjust your exposure accordingly (M mode)
This measurement is based on a reference value often called “middle gray” or “18% gray”, and you can read more about that in this article about exposure compensation.
But exactly where in the scene is the camera measuring that light?
This is where it’s important to understand what metering modes are in photography.
Differences in Metering Modes
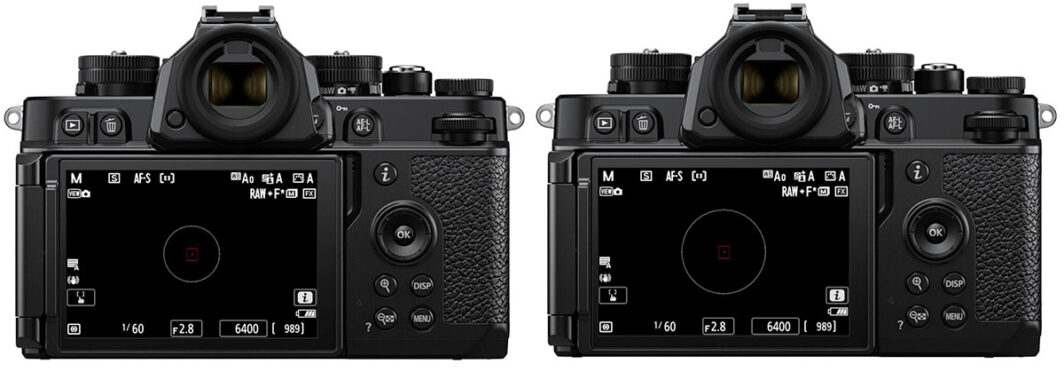
You’ll find these modes in your camera menus. As some examples:
- Canon: Still Photo Shooting > Metering
- Nikon: Photo Shooting Menu > Metering
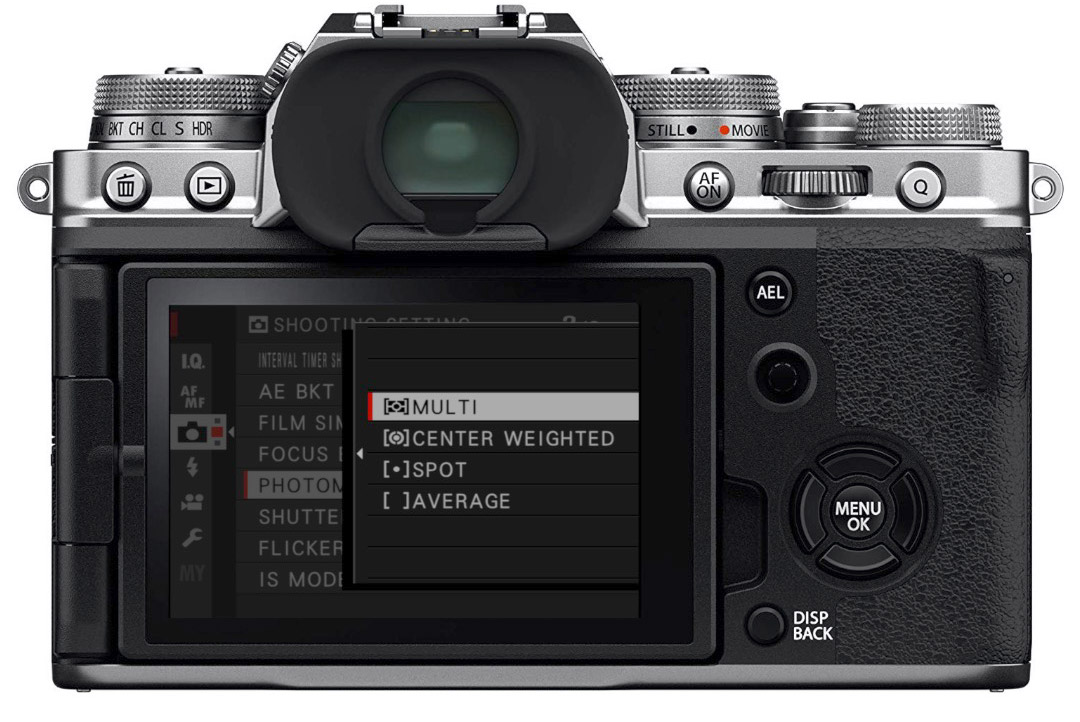
- Fujifilm: Shooting Setting > Photometry (or a top dial on older models)
- Sony: Camera Settings > Metering Mode
This menu option can also be programmed to “quick menus” or custom menus for faster access than going through all the menu lists. Some cameras also have dedicated buttons.
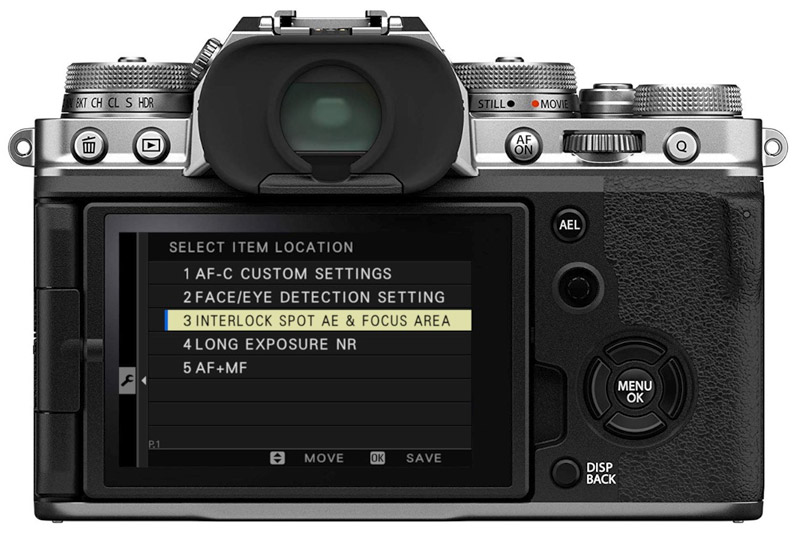
Important note: If you’re using “face detection” options, those will usually override your selected metering mode and instead use the detected face area for metering.
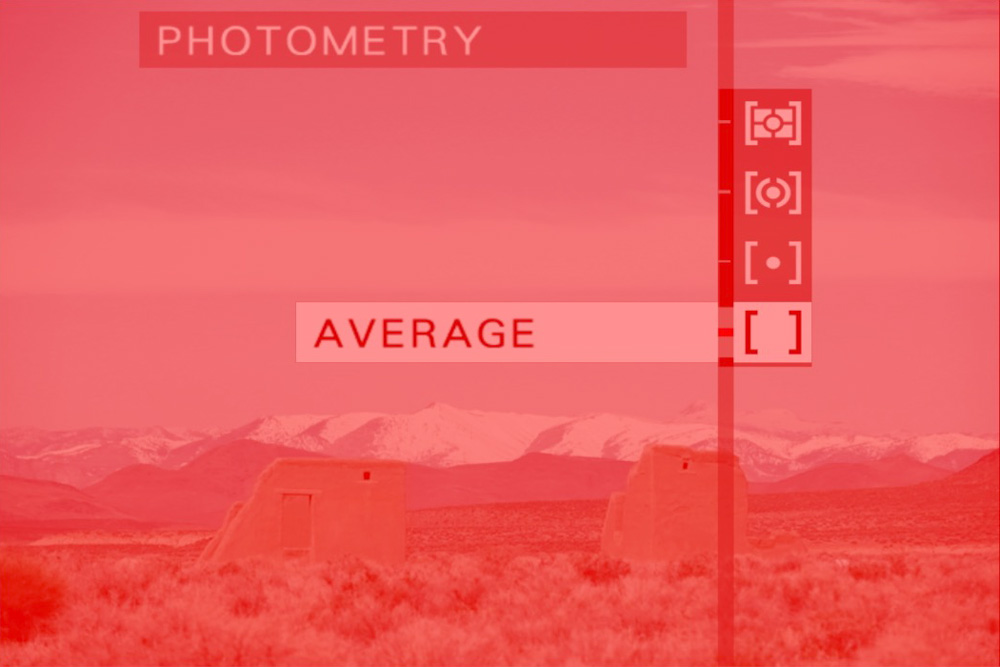
Average metering mode
Average is the most basic metering mode. It’ll take the brightness of the entire composition and just average it all out. There is no regard for where your subject might be, priorities, etc. Just a simple average of the whole scene.
Note that this isn’t found in all cameras, like new Canon and Nikon cameras.
When to use Average
Camera manuals will tell you that Average is good for simple scenes in consistent lighting, like landscapes. I’ve never once used Average, and we’ll see why later.
Center-weighted metering mode
Center-weighted takes “Average” but assigns a little more priority to the center area of the screen, where it assumes your subject might be. It “weighs” the measurement in the center quarter of the screen more than the rest of the screen, which doesn’t have as much of an effect on the total average.
When to use Center-weighted
This mode is good when your subject, like a portrait, is in the center of the screen. You want that to be prioritized for your exposure, right? That’s what the camera will do. But only if your subject is in the center.
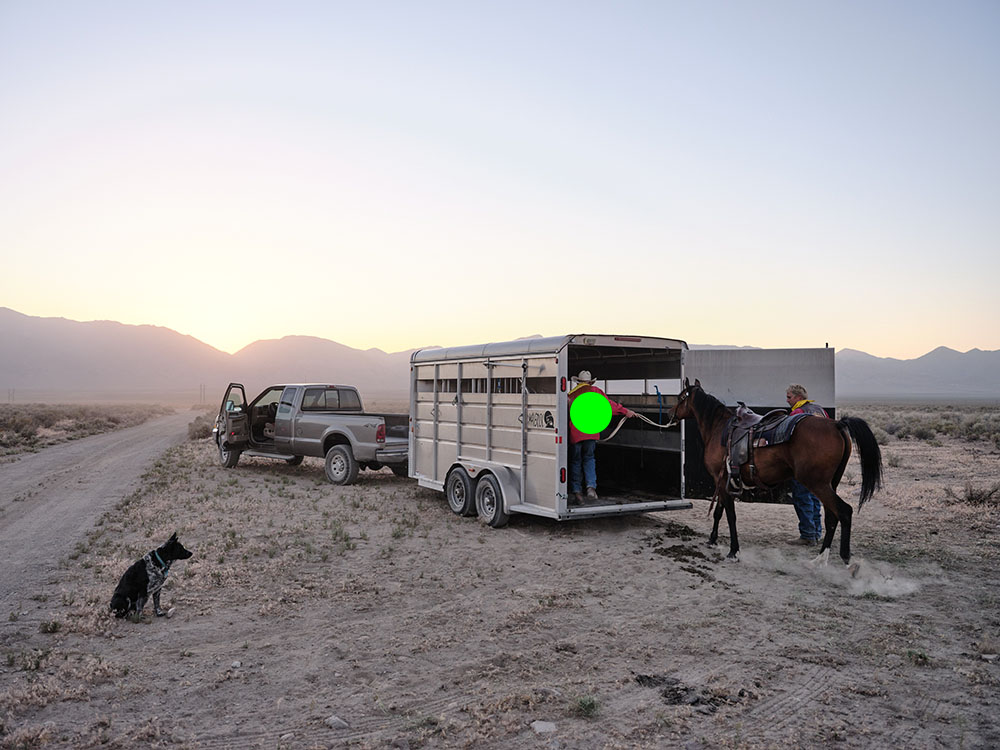
Spot metering mode
Spot is the most discerning metering mode available. It looks at a very small area of the screen, just 1-5% of the total area (depending on the camera), and ignores everything else. Imagine one of those lasers that measures temperature: it measures the temperature of the small area you point it at and nothing else. That’s Spot.
While this Spot is in the center of the screen by default, most cameras allow you to tie it to your focus area, so you can move it around the screen where you want to measure. Some cameras go a step further and allow you to change the size of the spot. Check your manual for those specifics.
When to use Spot
This mode is useful when photographing a high-contrast scene or a scene with many different tones and you want one specific area (or tone) exposed a certain way. You can place that spot over this area of the composition and meter just that.
Multi/Matrix/Evaluative metering mode
While this mode has different names among different camera manufacturers, it operates largely the same. This is a “smart” mode that divides the screen into hundreds of areas and analyzes the color and tone of each area. Some cameras also use distance information from your lens. It uses all of this information to come up with a final reading.
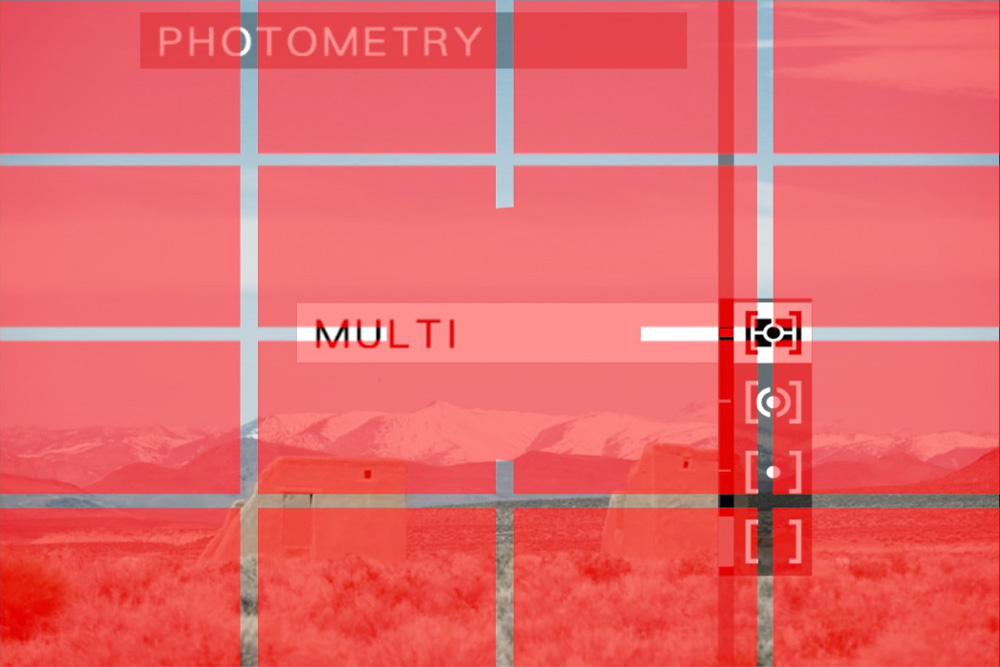
When to use Multi/Matrix/Evaluative
This is a great jack-of-all-trades mode. As we’ll see next, I’m in this mode 99% of the time. It just works well for most situations.
Highlight metering mode
This mode is found in Sony and Nikon cameras. It’s like center-weighted, but instead of assigning “more weight” to the center of the screen, it assigns more weight to the brightest areas of the screen. In doing so, it will help you avoid overexposing the highlights. It tries to protect those so you still have color and detail in those areas.
When to use Highlight
If there are bright areas you want to keep – like texture in bright clouds – Highlight can help you protect those. Just note that it could cause other areas of the composition to be too dark.
Which Metering Mode is Best?
Ah, so here’s the question we’re all here for. Which metering mode is best?
The last section explained what each metering mode is and when you might want to use them.
Practically speaking, however, you’re probably not going to be bouncing between all these modes during a photo walk, for example. So what to do?
As I mentioned earlier, I’m in Multi/Matrix 99% of the time. And here’s why: today’s digital cameras, specifically mirrorless cameras, have so many great features to help you nail your exposure.
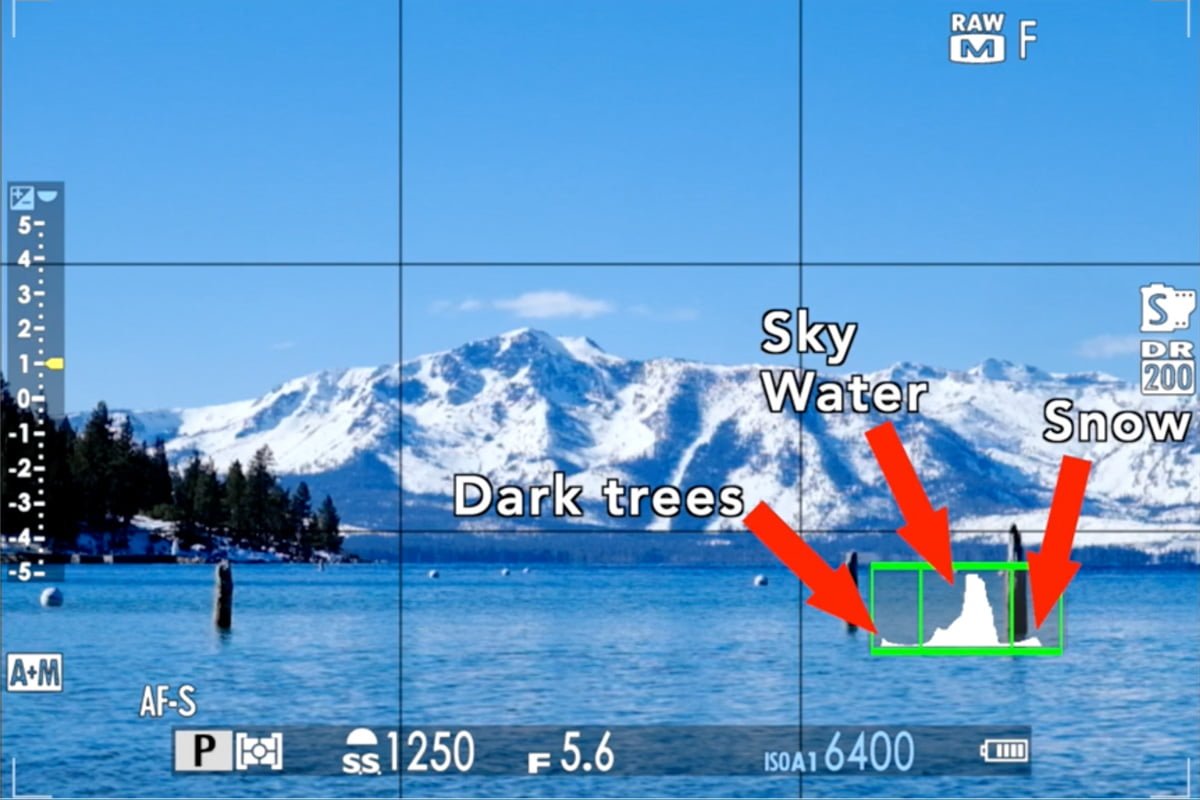
Use your on-screen histogram to adjust your exposure compensation or exposure variables to make it look how you want. Some cameras have a “highlight alert” that serves the same function as Highlight metering. These tools work best in Multi/Matrix/Evaluative.
And that 1% I’m not in Multi/Matix? Sometimes I go to Spot when I need to be precise in tricky high-contrast scenes. I know what I’m getting when I put that Spot over a specific area, using either Manual exposure mode or the Auto Exposure Lock function in other exposure modes when I get it right.
The other modes are, in my own opinion, “vestigial tails” from late film-era cameras and early DSLRs. Especially if you’re using the increasingly popular mirrorless cameras, which have so many other advantages for getting the right exposure.
What’s most important to get out of this is to know how your camera measures your composition’s brightness in each one of these modes.